Homemade granola (gluten-free)
It's no secret that breakfast food is one of my love languages. Eggs, pancakes, waffles...they're all my favorite foods. That being said, I'm not 100% on the granola bandwagon. I generally don't crave it and we rarely buy it. The blend of textures has to be just right. But this granola is a game-changer. Each time I make it a little differently, but this was my favorite batch yet. It has a lot of crunch, and it's not too sweet (my biggest objection to most store-bought varieties). Next time I'm tempted to think, I don't like granola very much, I need someone to remind me of this granola, okay? And nothing will make your home smell so, so good while it bakes in your oven.
I made this batch for when my mother-in-law comes to visit in a few days (yay!) but Nicholas has already informed me that it's the best granola he's ever had and there's no way there will be any left by the time she gets here on Friday. Maybe my best advice is to make a double batch? ;)
Of course, feel free to sub what ingredients you have on hand—this is just the combo we like the best.
Homemade Granola (gluten-free)
(I modified this recipe by Sheena to suit our tastes and make it gluten free)
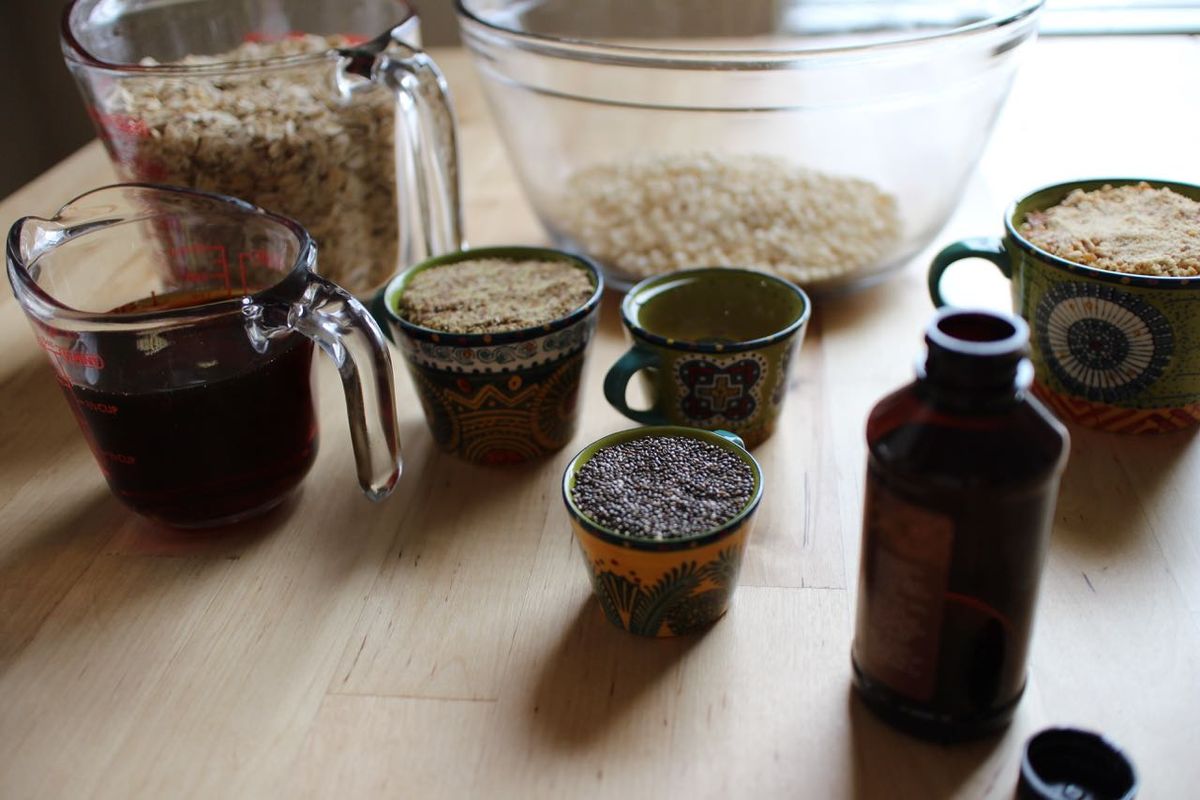
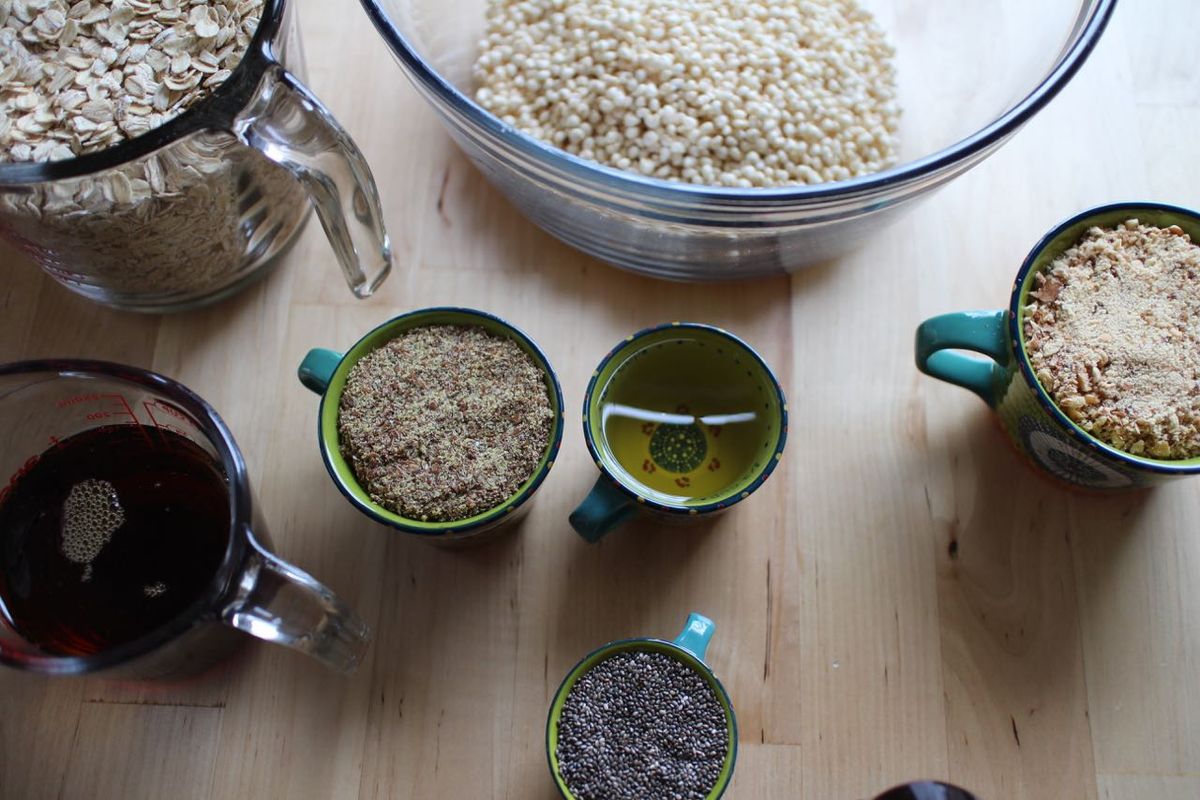
- 4 cups rolled oats (for gf granola, use gf oats)
- 2 cups puffed rice (unsweetened)—I usually buy Arrowhead Mills
- 1 cup chopped almonds
- 1/2 cup ground flax seed
- 3/4 cup pure maple syrup (we use Grade B, since it's less refined)
- 1/2 cup avocado oil or coconut oil
- 1 tsp vanilla
- pinch of salt
- 1/4 cup chia seeds (optional)
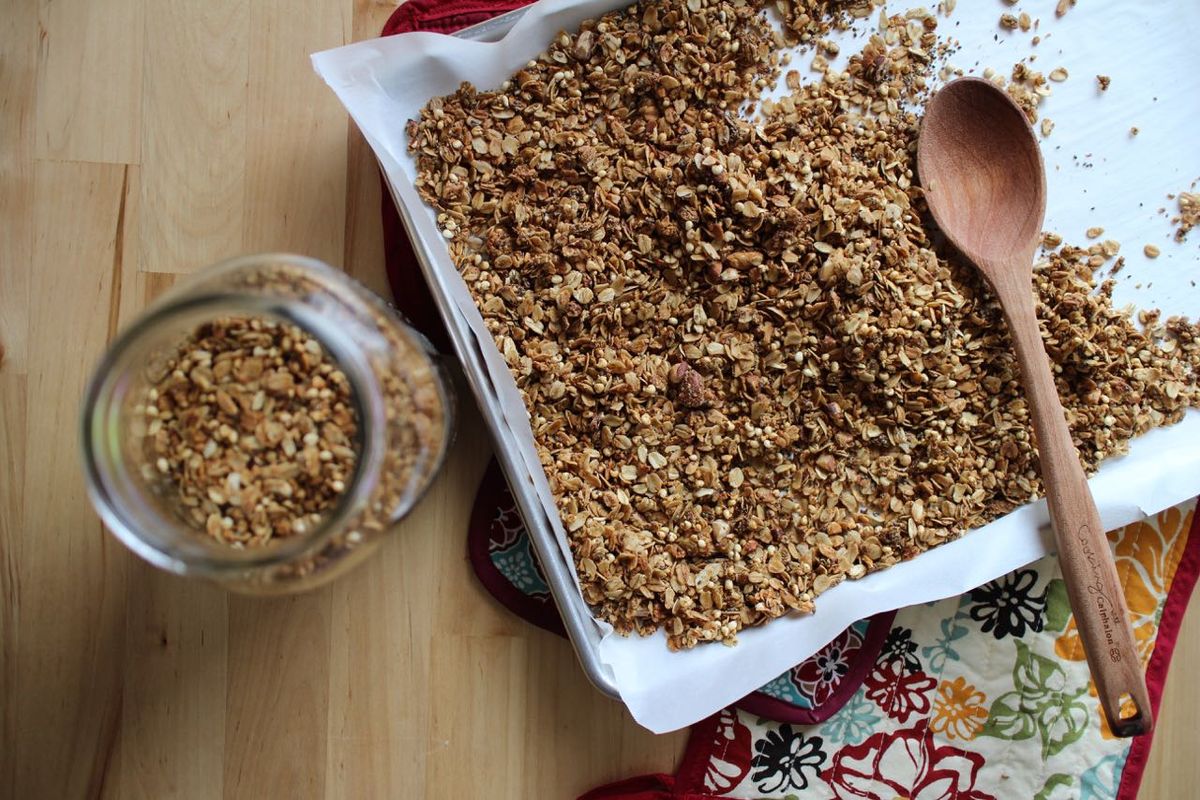
Preheat oven to 300 degrees. Pour all ingredients into a big bowl, stir until everything is well-coated. Spread into a fairly thin layer on parchment-paper lined baking sheets. Bake granola, stirring a few times throughout, for at least 45 minutes or until it's dark gold, toasty, and crispy (see "before" and "after" pictures below). Sometimes this takes closer to an hour to get it just right. We eat it in a bowl with milk, sprinkled over yogurt, or just by the handful.
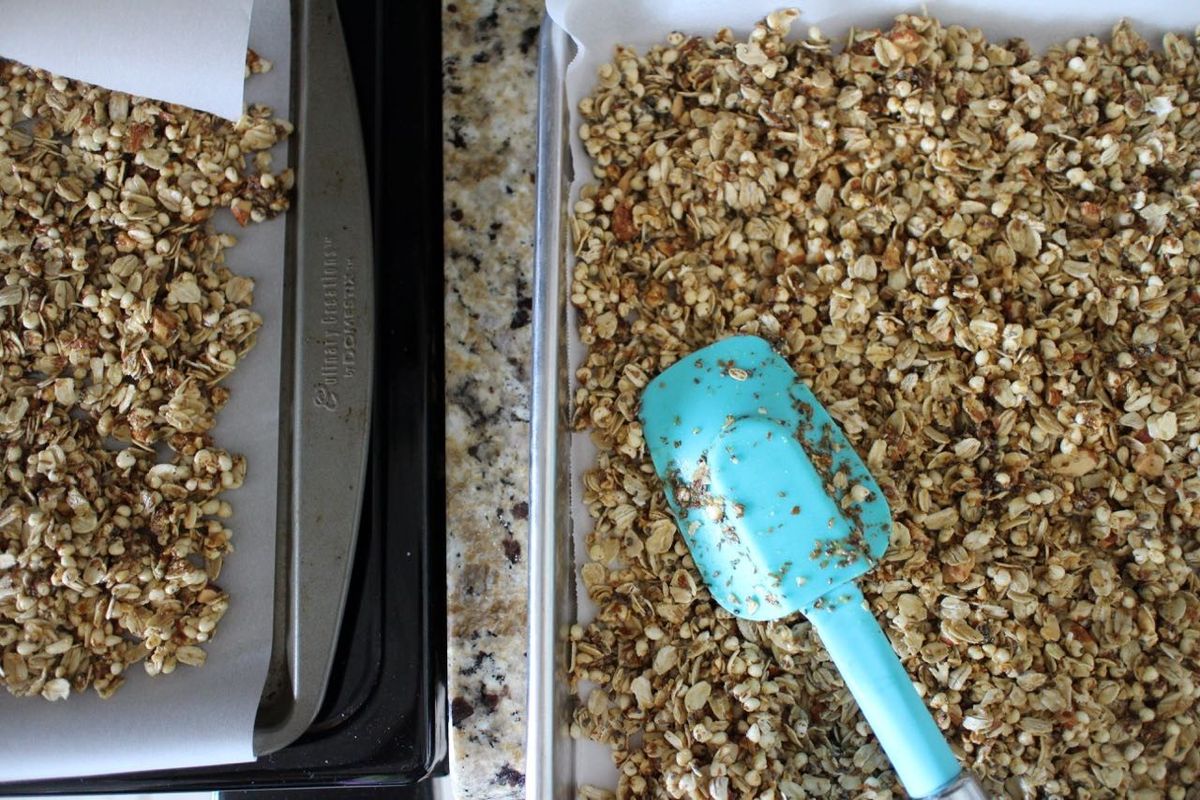
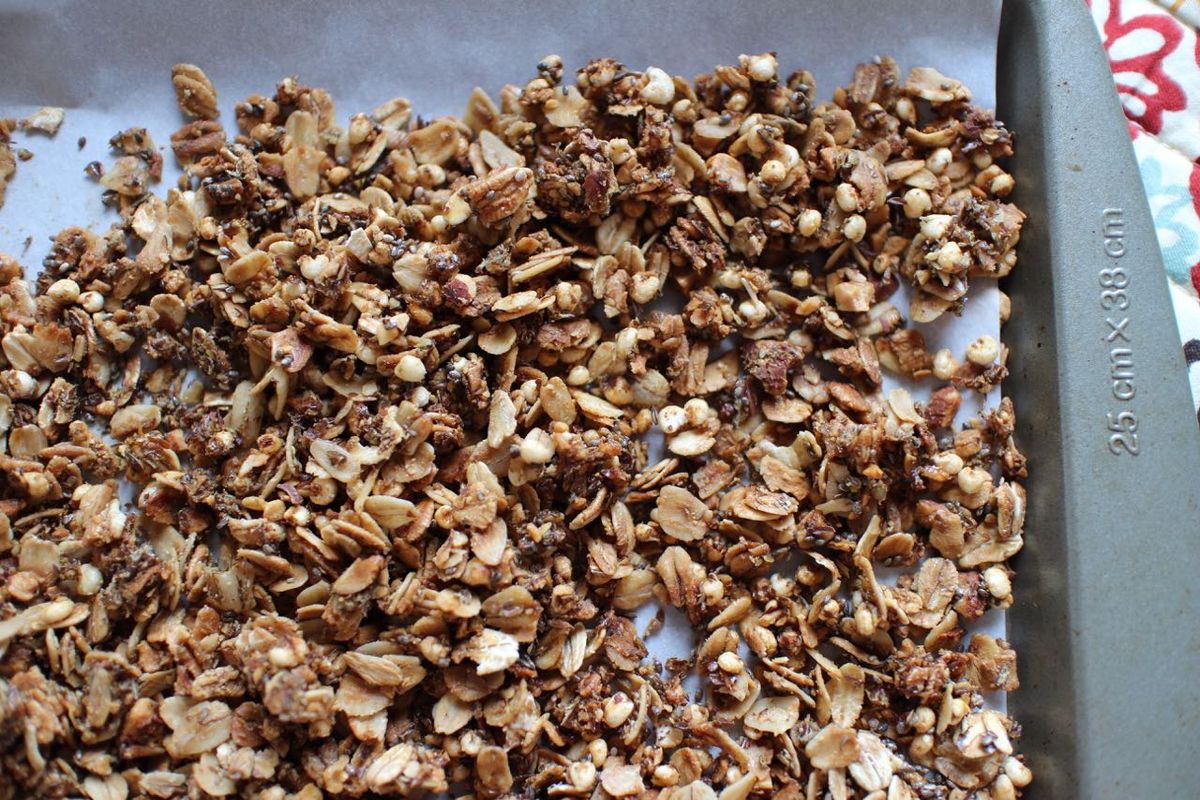
You can see the texture and color change dramatically after time in the oven. Before baking (left) and after baking (right)
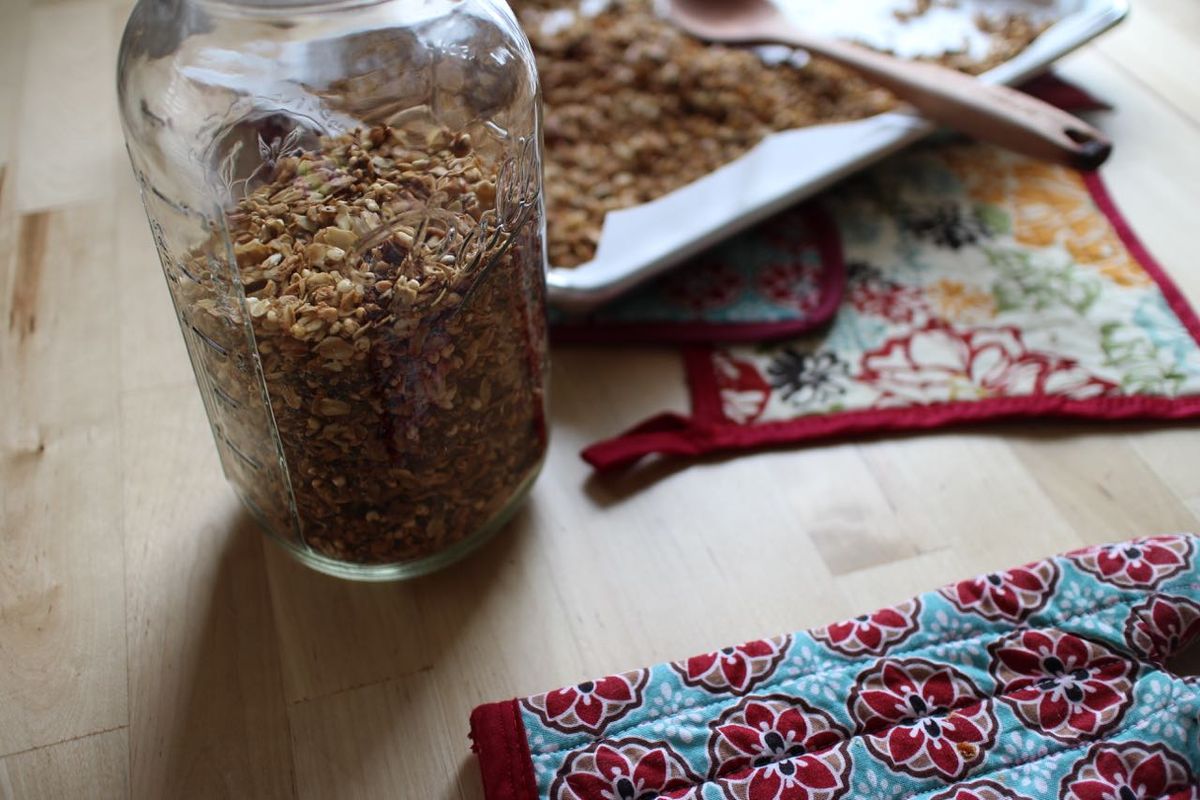
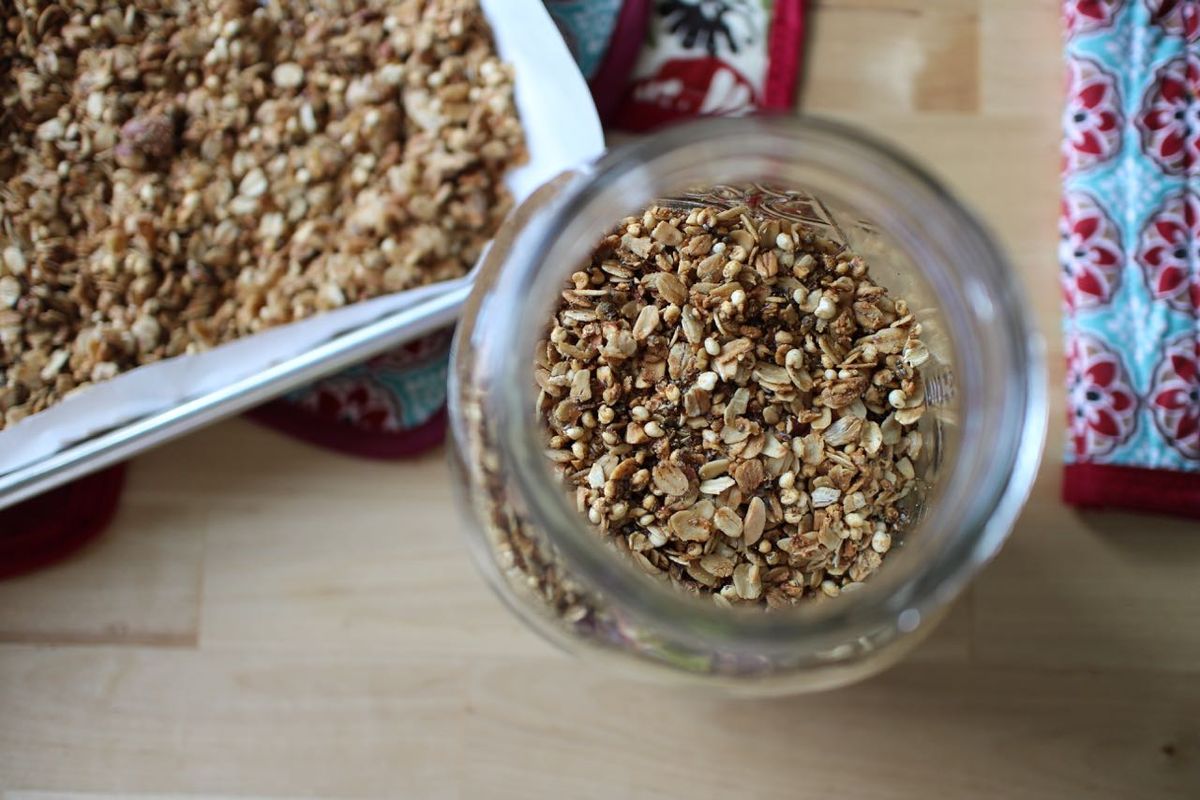
And that's all! I store it in glass jars, for easy pouring.