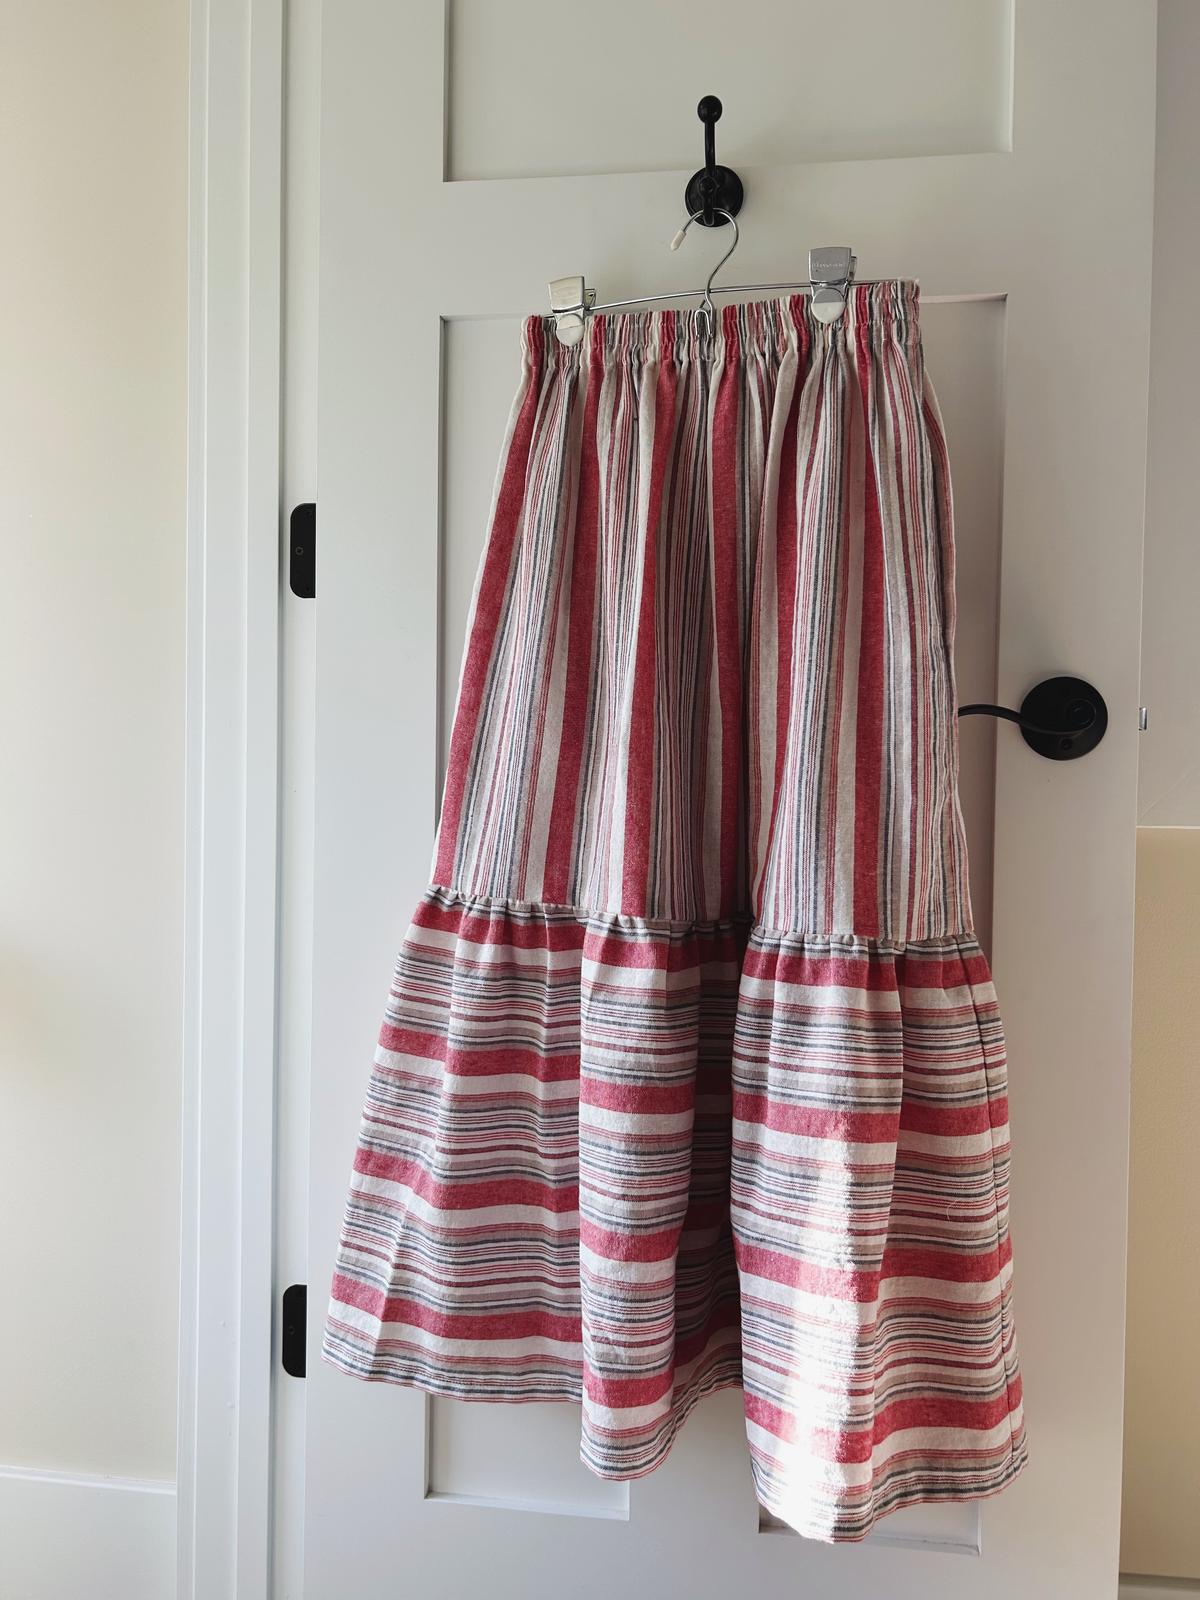
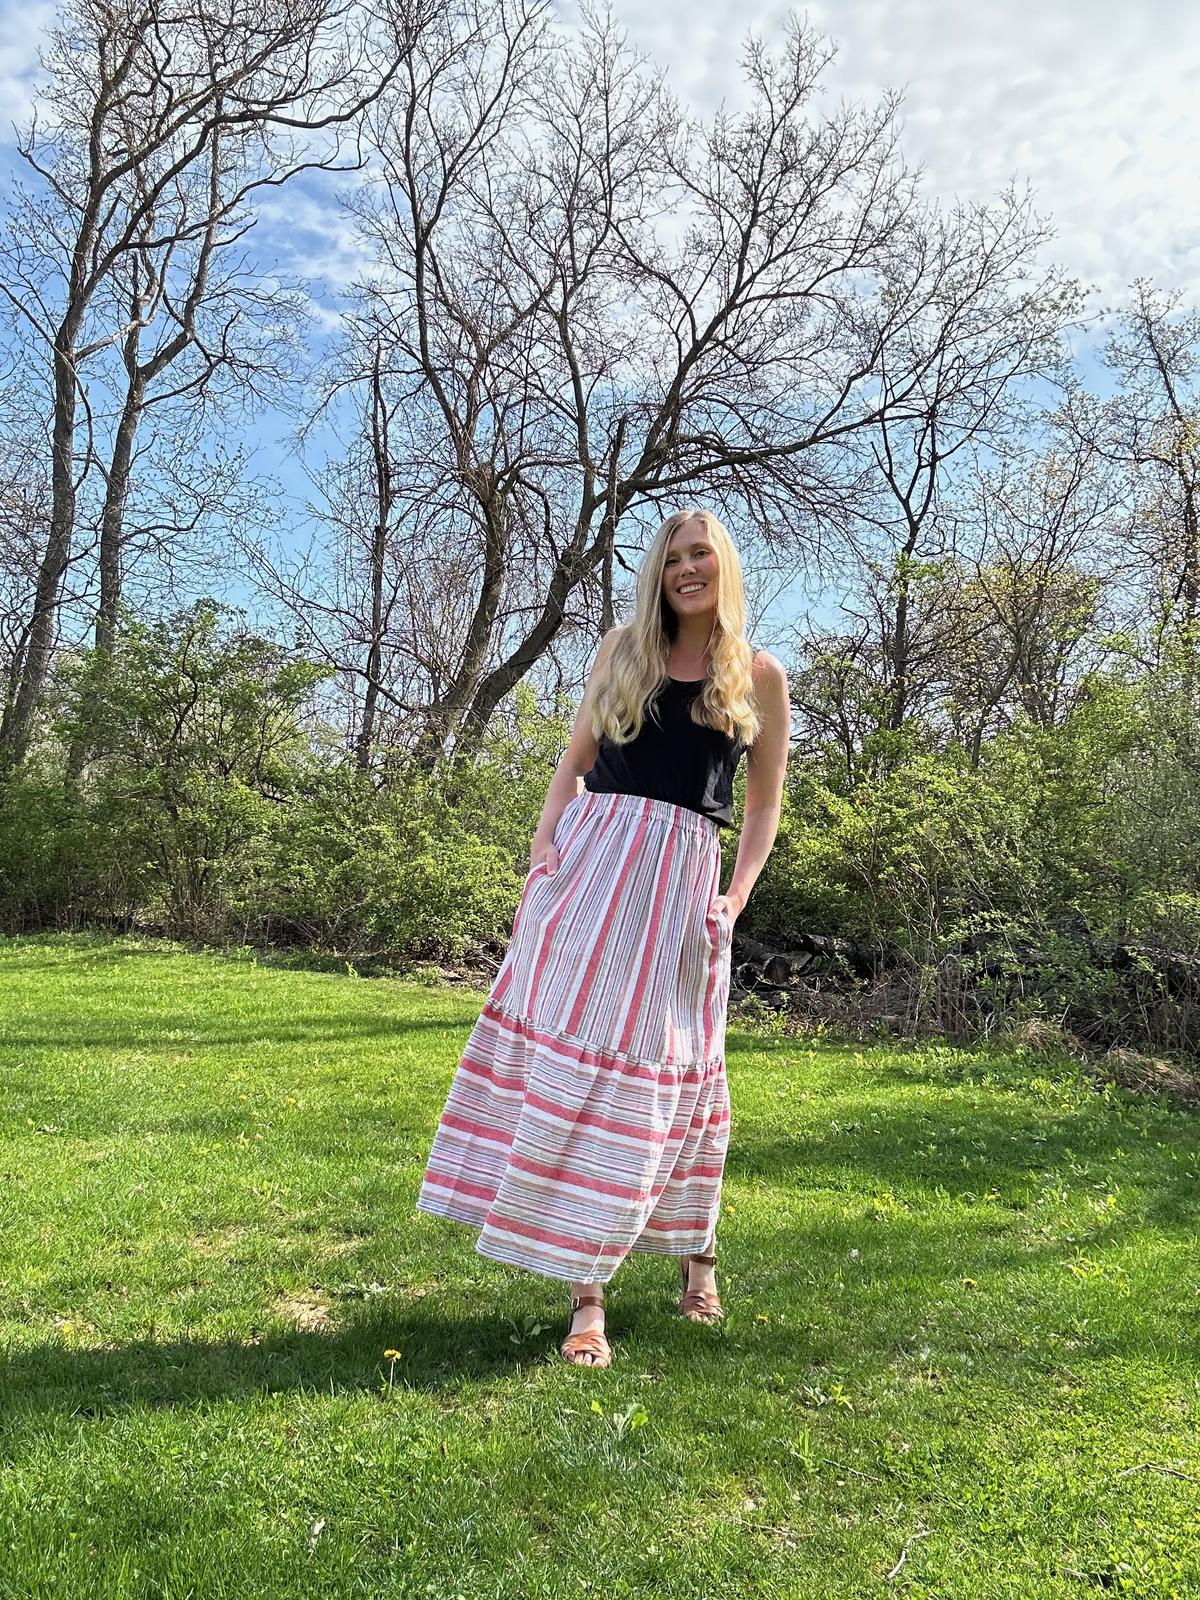
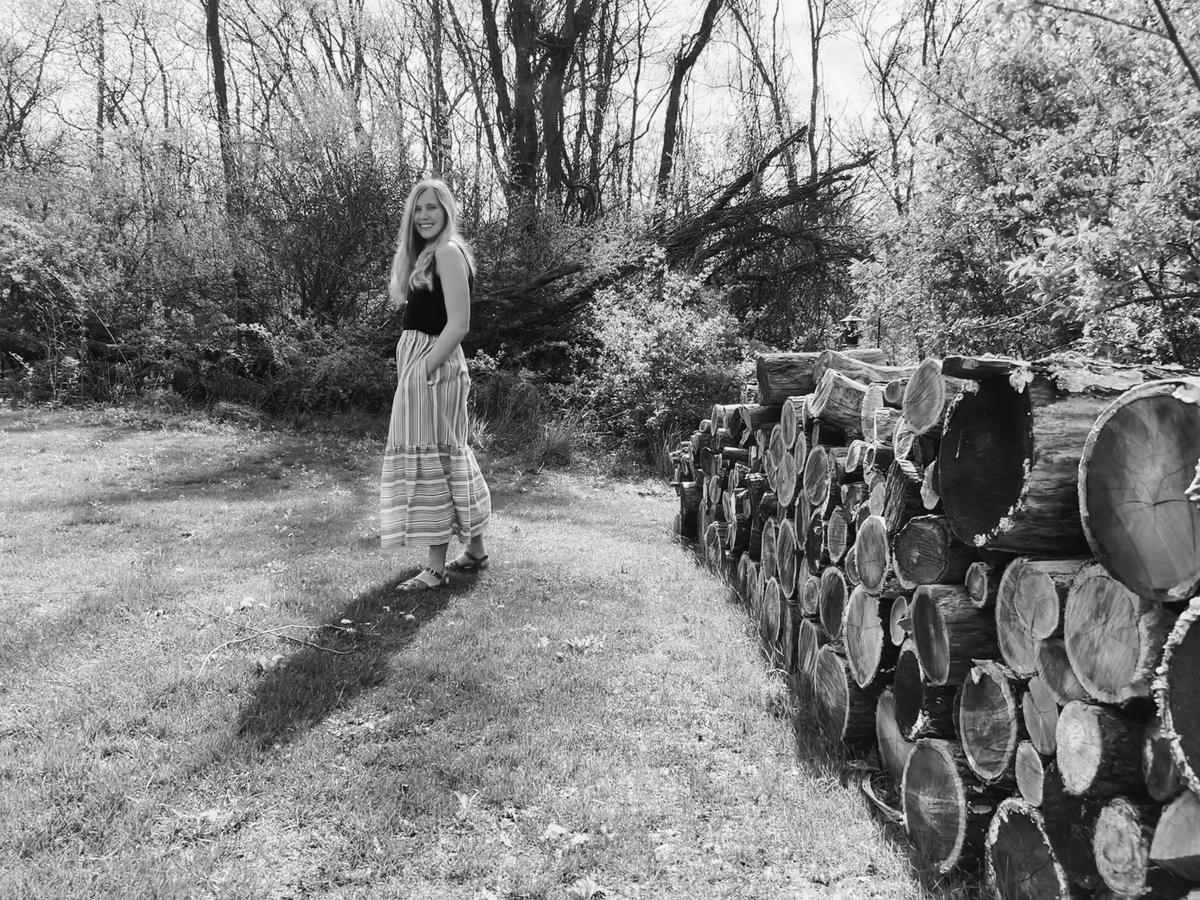
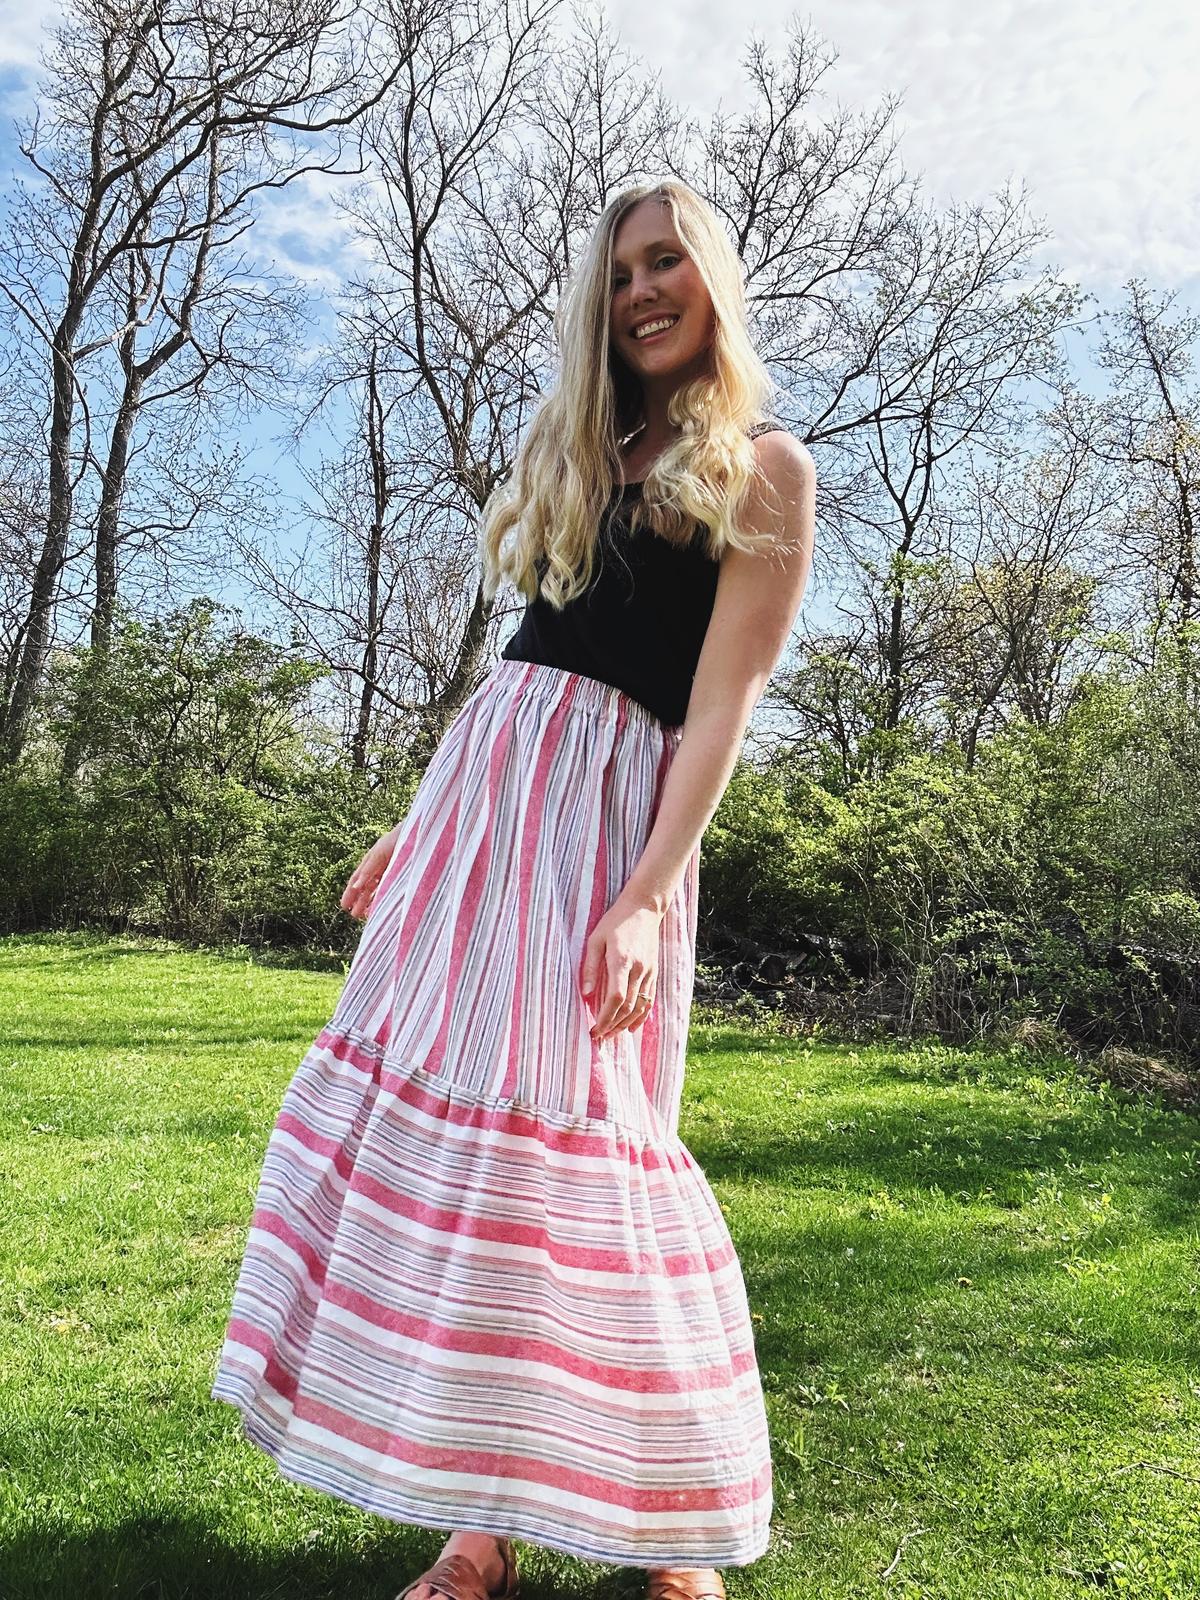
A striped skirt, finished

In late April, I read through a free tutorial for sewing a skirt, and decided then and there that it was finally time to (1) sew something for myself after a long hiatus from garment sewing*, and (2) use some fabric that has been in my collection for years.
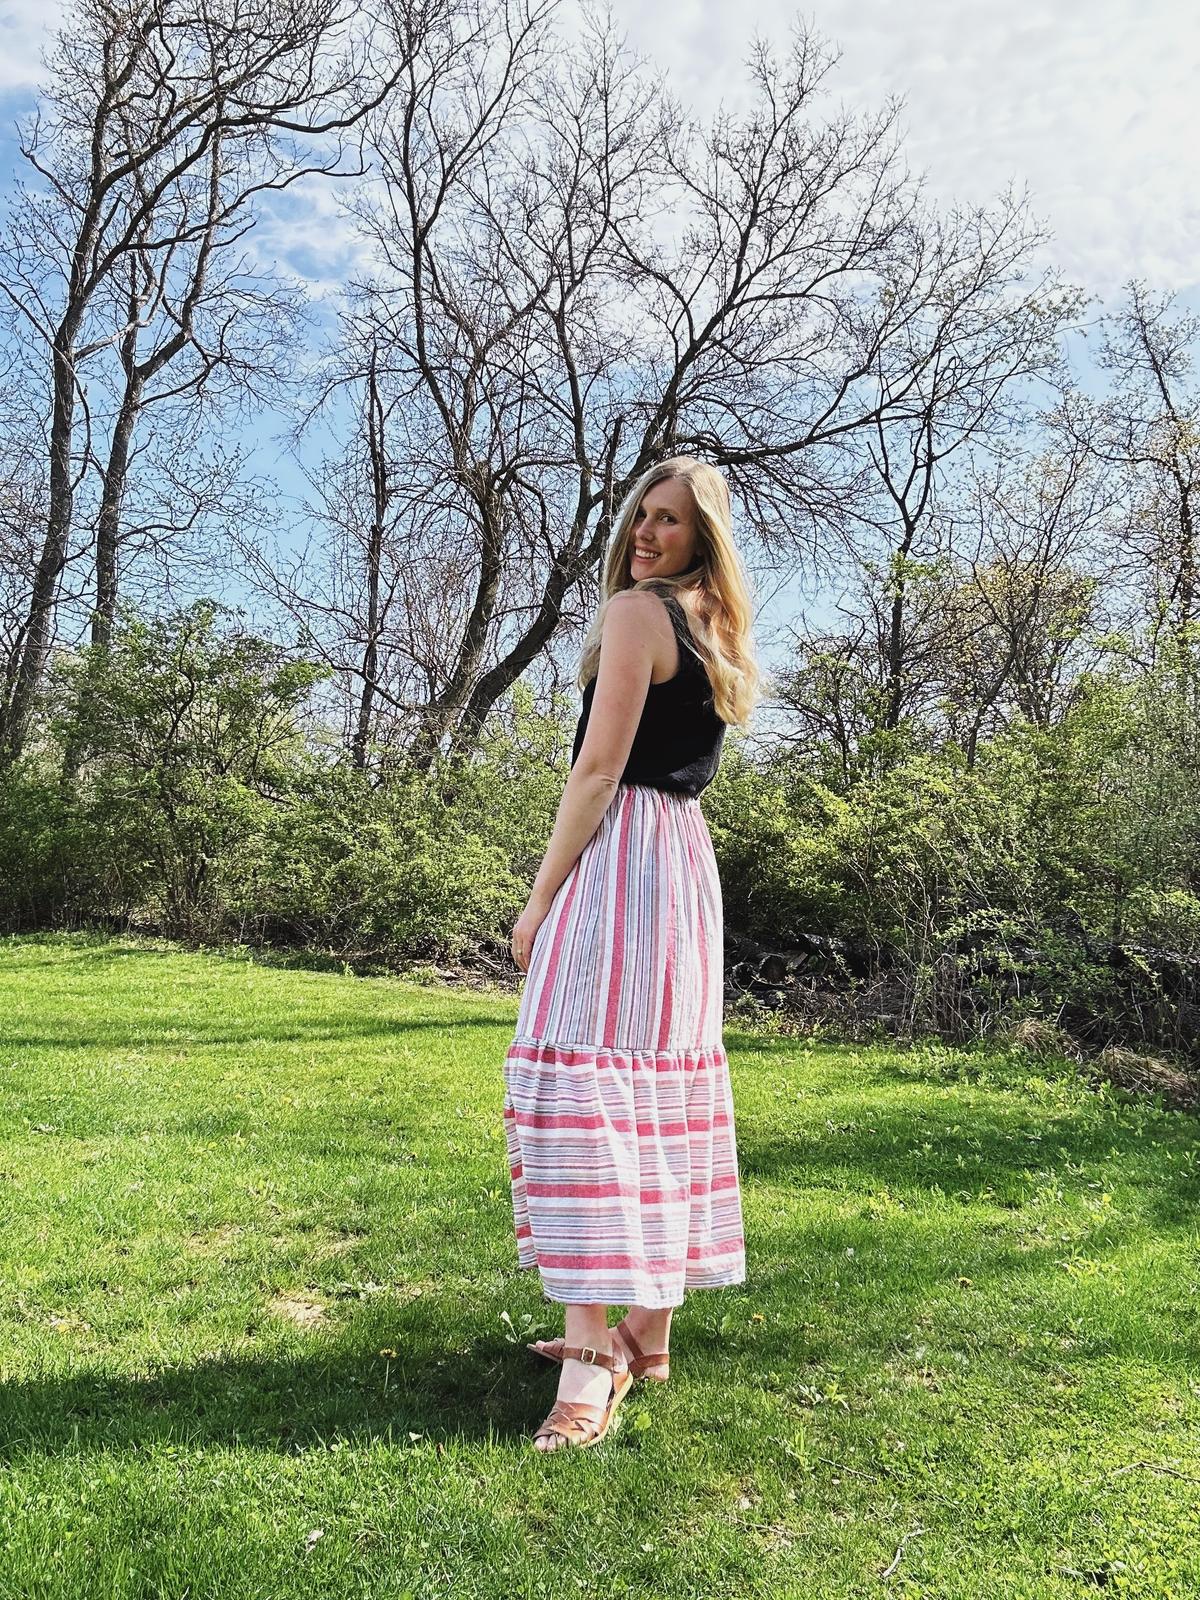
I have lots of small amounts of quilting cottons from various quilting or bag projects and then a much smaller stash of what I would consider to be "garment" fabrics. I pulled out some striped cotton that I purchased from JoAnn (RIP) back when we lived in Austin, probably around 2016 or so. All these years later, I still loved this striped fabric, and at a certain point, it really is time to just sew with the fabric.
So I did!


I used this tutorial for How to sew a skirt with an elastic waistband by Bethany Lynn Makes, following her directions for cutting my fabric based on my waist measurements. The tutorial walks you determining how big to cut your fabric, and the process of basically sewing a top rectangle (with the very top becoming a waistband) to a wider rectangle for the bottom the skirt, after it's gathered. Her instructions are much more clear than how I just explained it, but it's a beginner-friendly sewing project!
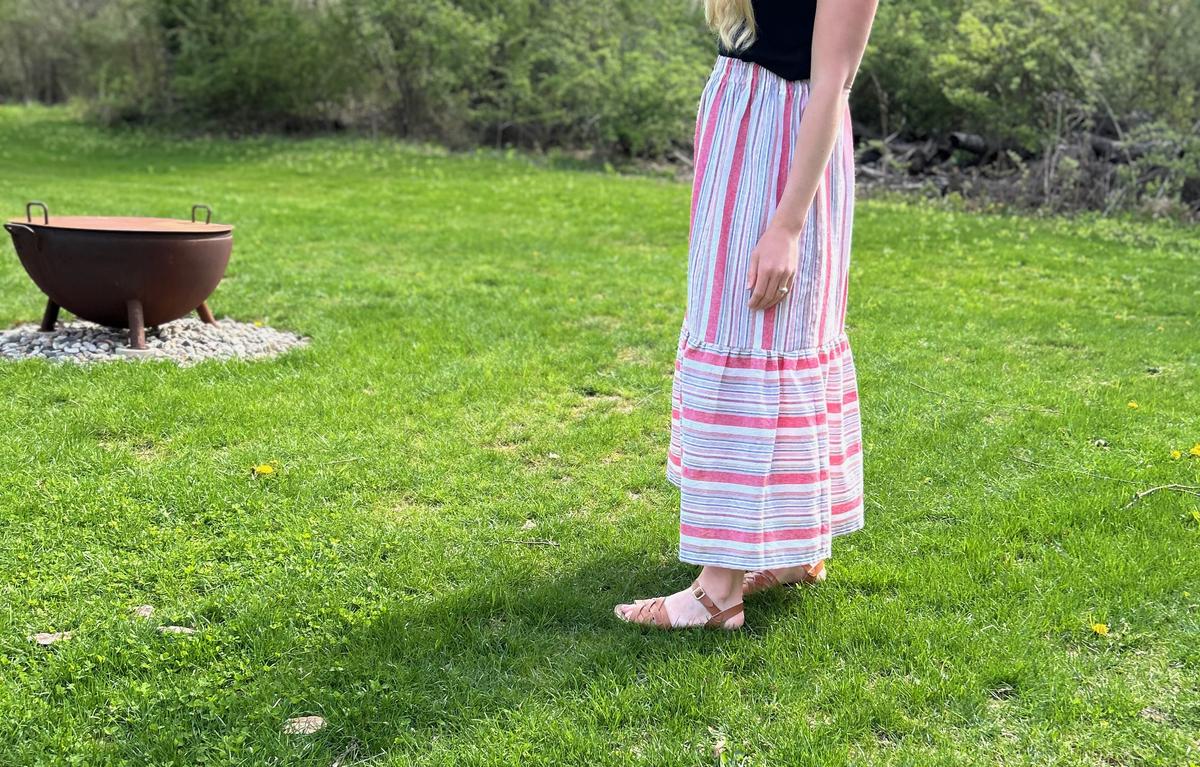
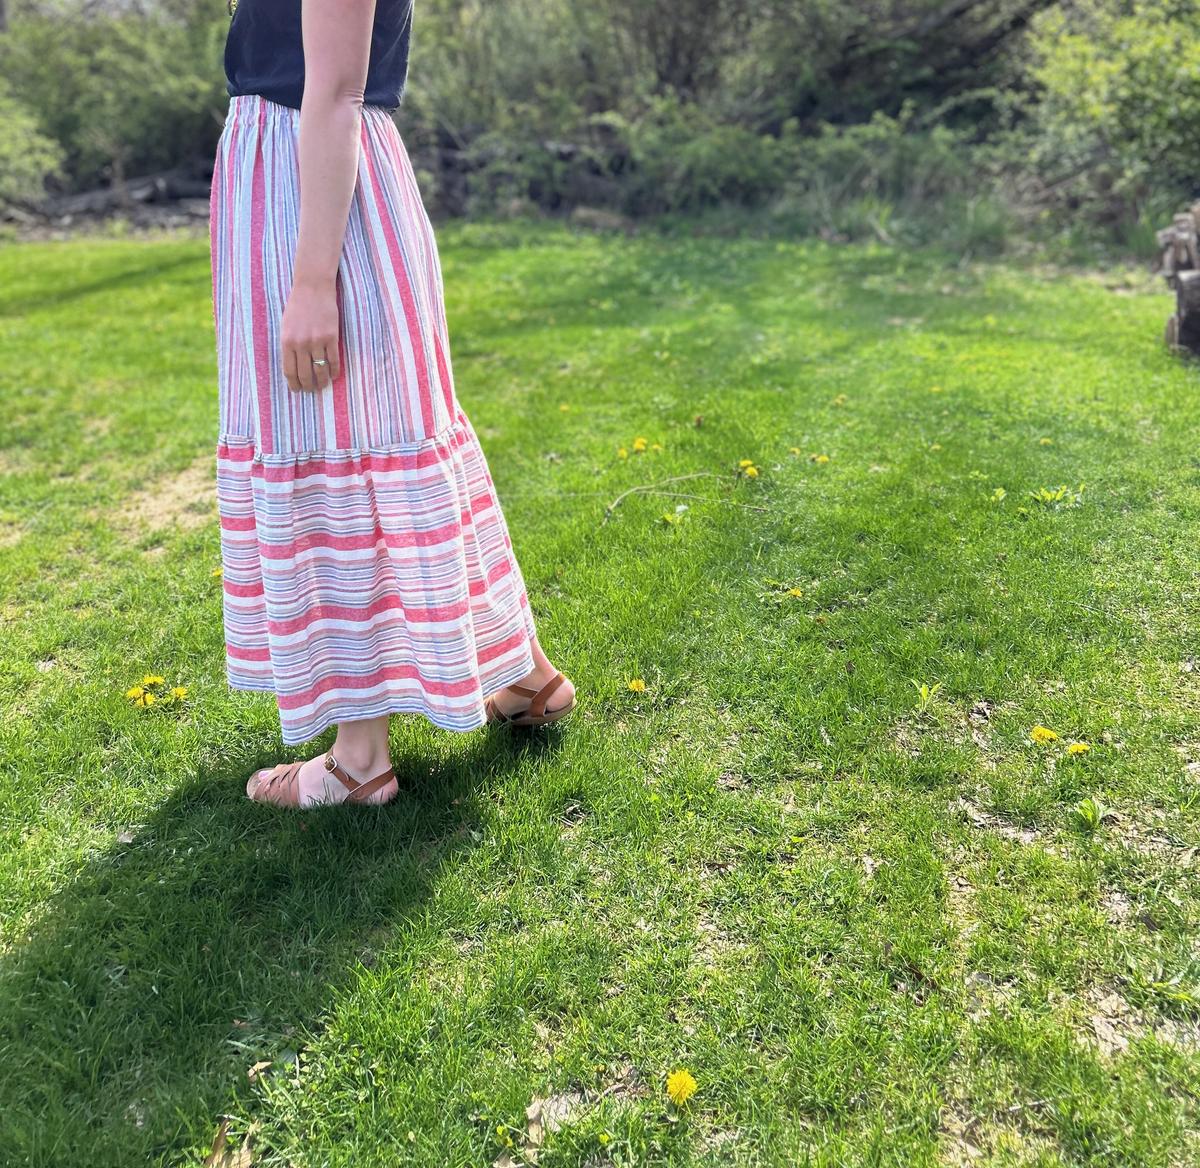
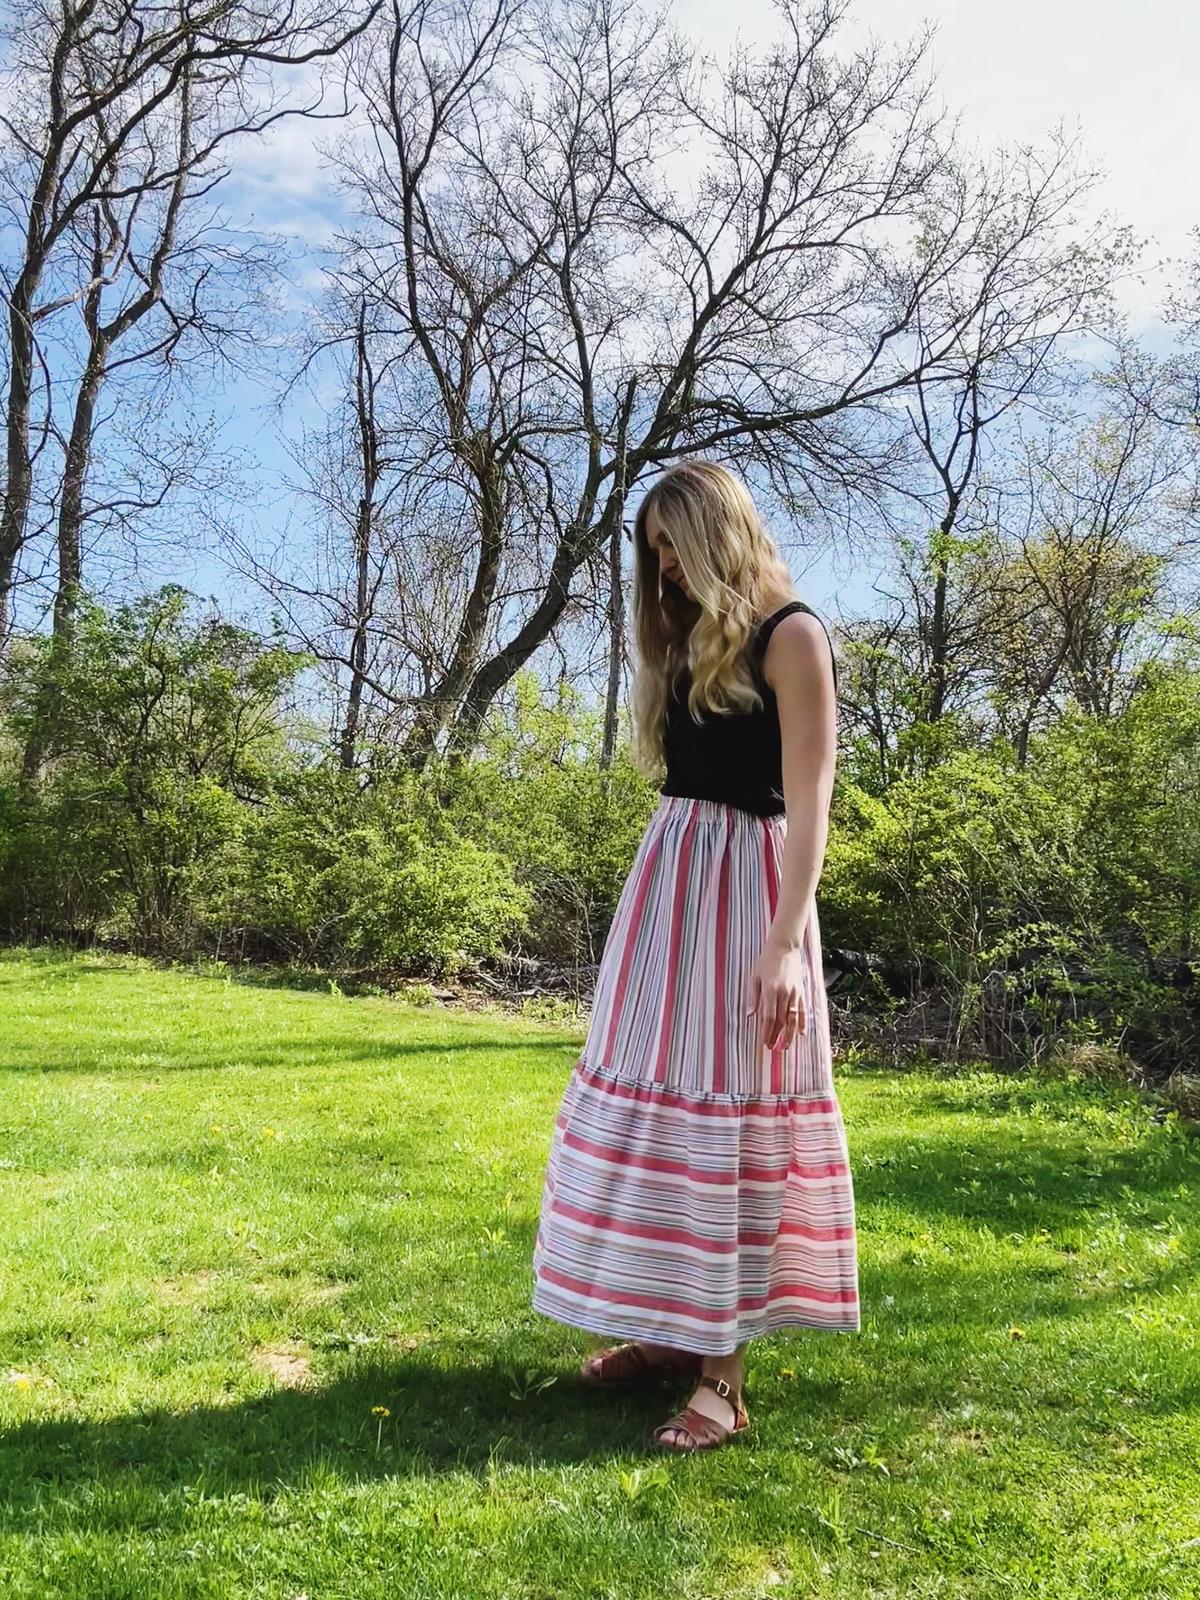
For future reference (or if you might be a similar size to me) my waist is 29.5" or so, and I multiplied that by 1.75ish (and added 3/8" seam allowance to each side to get my width (26.5") of my top tier. To determine my top tier length, I cut my fabric length to 24.5", inserted the waistband and then decided where I wanted the seam to be – knowing that I didn't want the seam to hit right at my knees (the seam hits just above my knees in the finished skirt). And for reference, I am 5'6" with a longish torso.
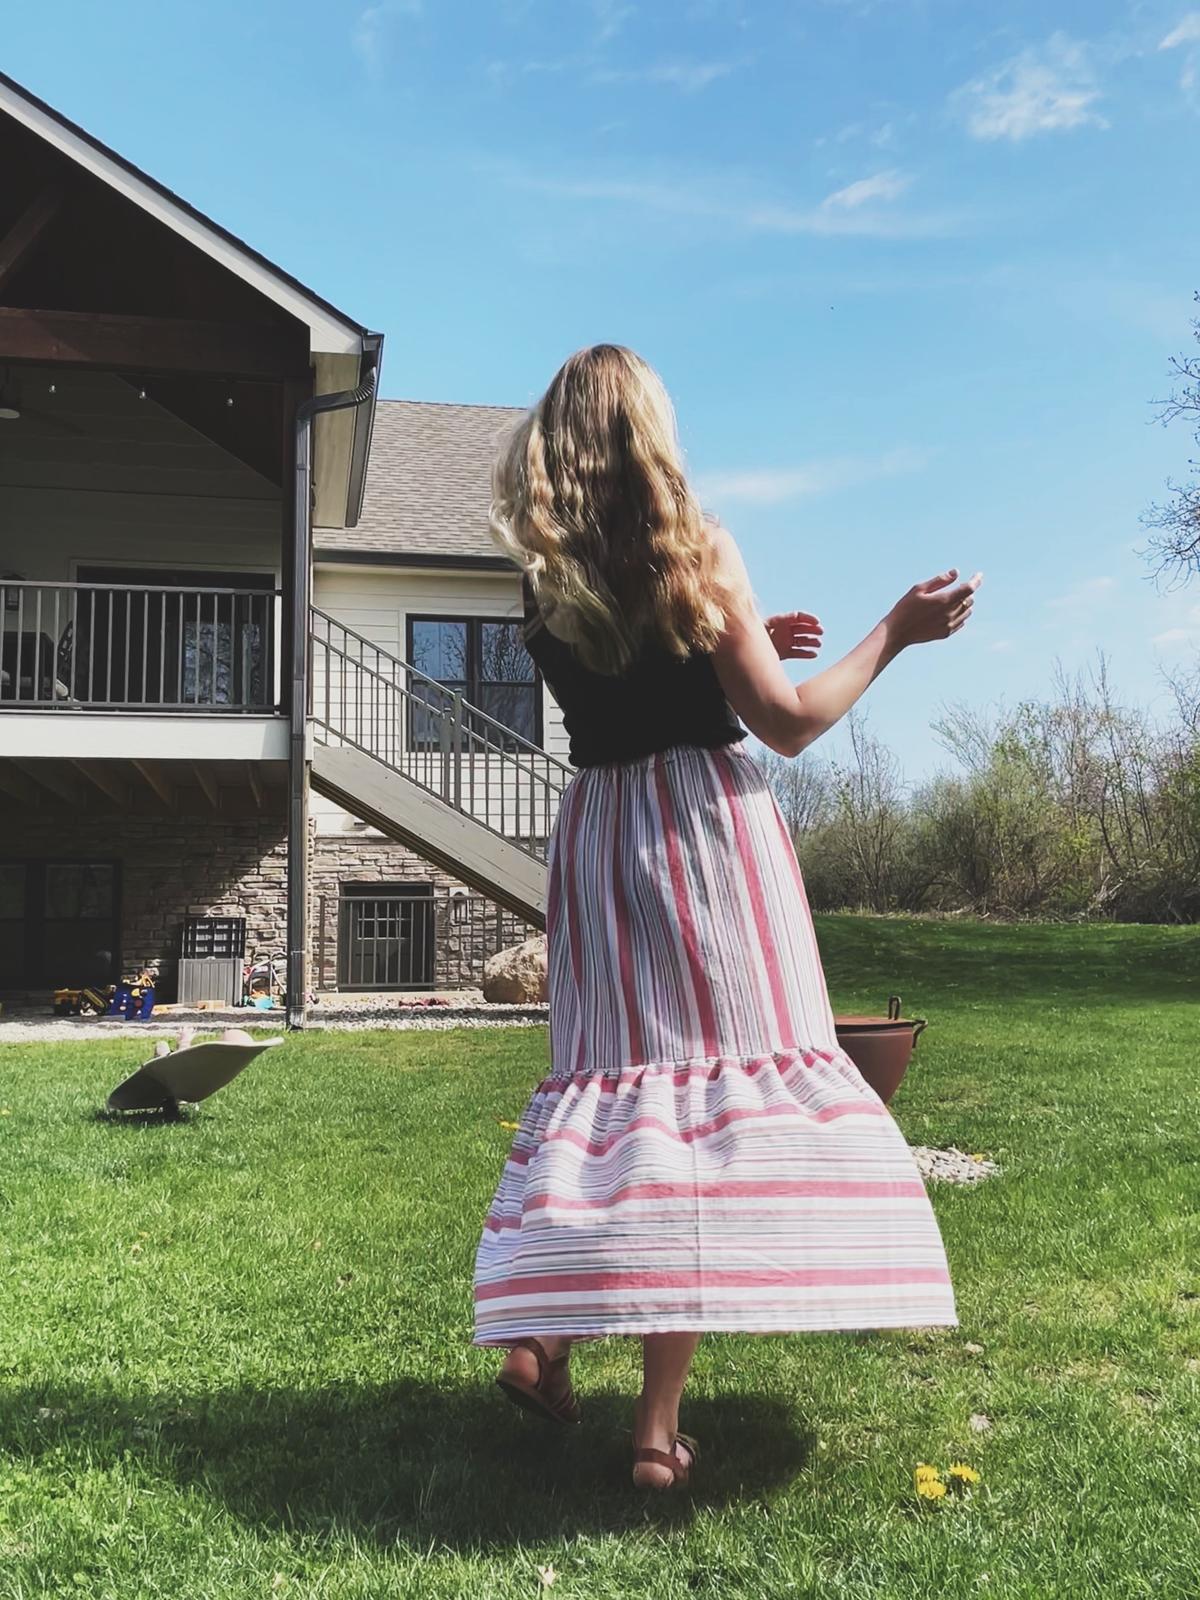
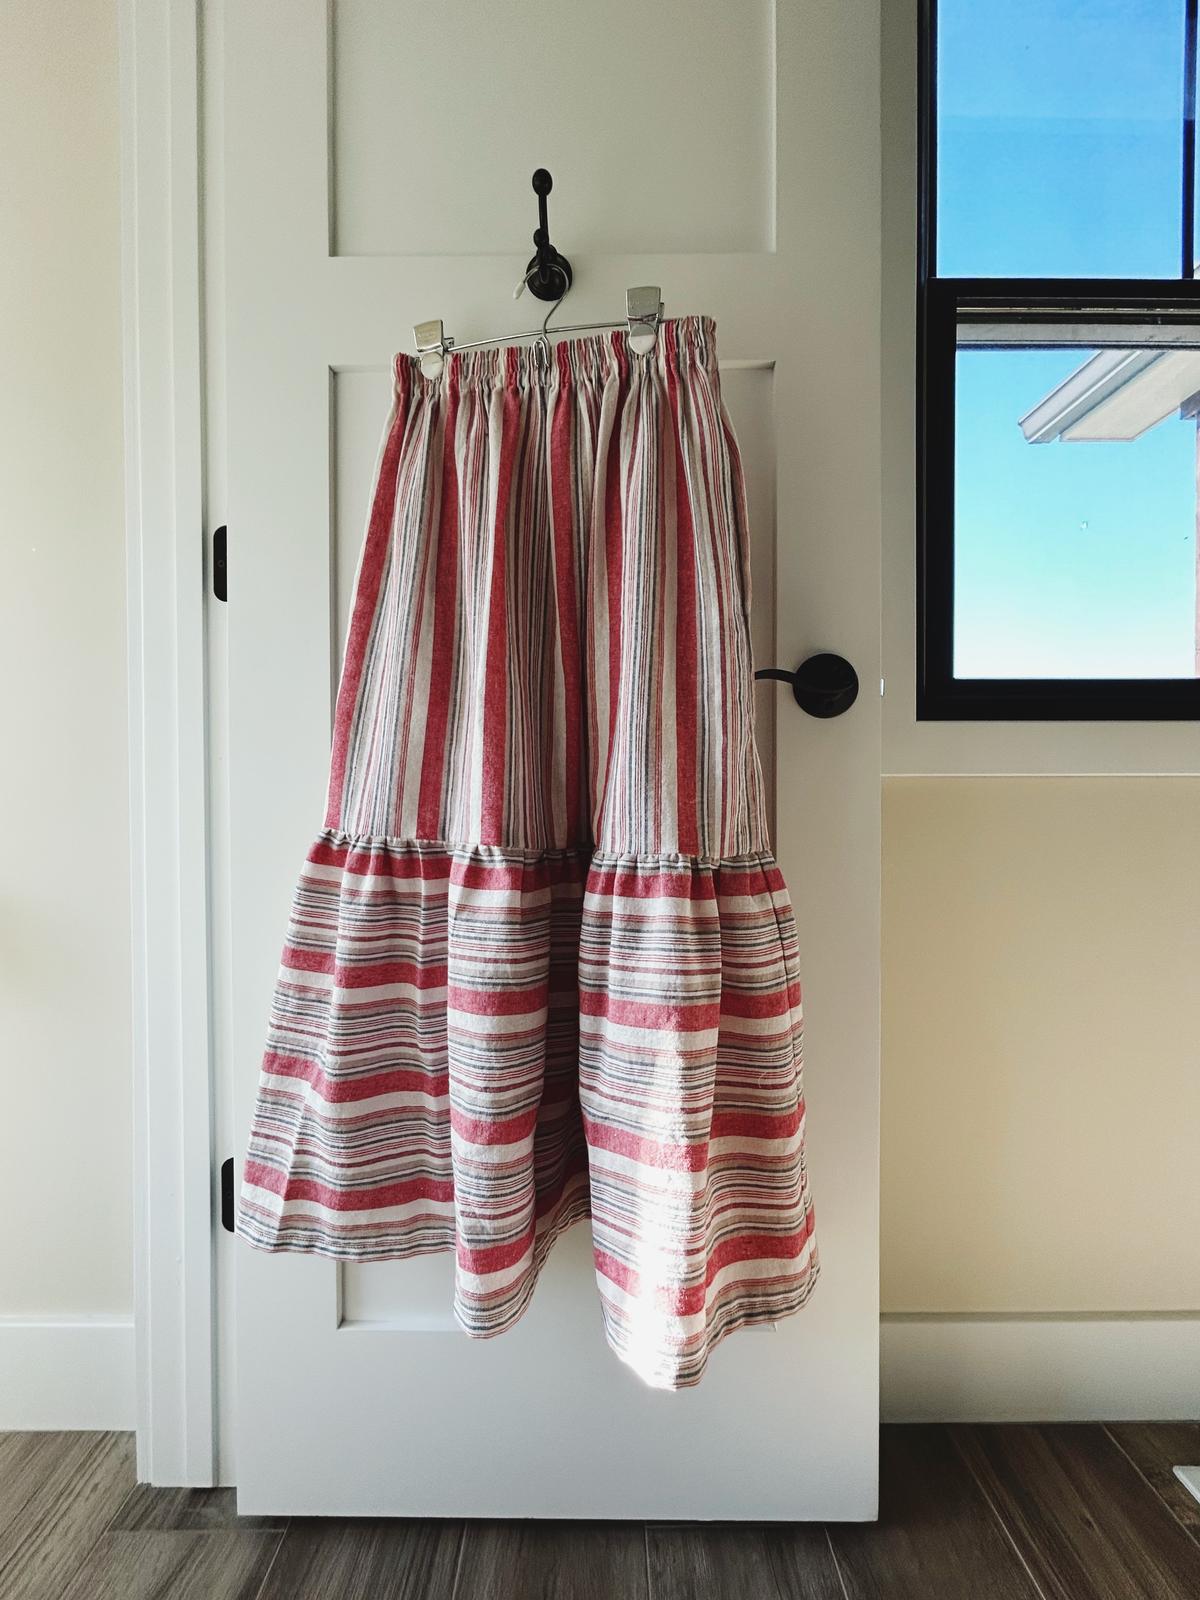
I made my bottom tier approximately 1.75x wider than the top tier, per her instructions and 17.75" long. The width of mine is just slightly less, since I was limited by my fabric length, knowing that I wanted to use the stripes in a horizontal direction for the bottom. I used 1.5" elastic for the waistband, since that's what I had on hand, and followed her instructions for finishing the raw edges with my serger and hemming the skirt.
Altogether, I used around 2 yards of fabric, and it's possible, I might be able to sew up a small tank, if I want to try that matching set look.
While knitting will always be easier to just "pick up and go," especially in my years of mothering little kids. However, I was able to finish this skirt over 3-4 sittings, spread out over a week. I spent one day just doing math and cutting my fabric pieces. The next sewing session, I added the pockets, sewed the side seams of the top tier, and completed the waistband. And then on the third occasion, I gathered the bottom tier, seamed the side seams, attached the bottom tier, and hemmed it.
It has pockets and a stretchy waistband and it's easy to move in and wear – perfect for church or just a day running to the park or the library. I am so happy with it, and especially happy to have this fabric off my shelves and sewn into something I can use and wear and enjoy.


*My last sewn garment project was my Orchards dress, which I sewed in early fall of 2023.